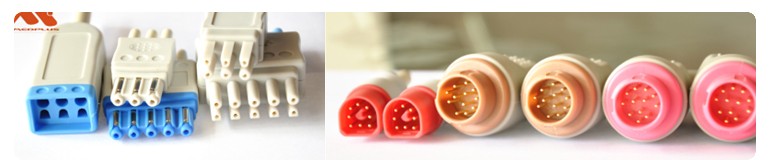
Adaptor: ABS Pins: Golden plated brass pins, 6pins,
Connector house: ABS
Use for Biocare: BM9000; Carewell: Digital; Colin(Omron); Comen: Star-8000E; Contec; Creative: PC9000,UP6000; DST Digital; Edan Oximetry M9, M99A, M8, M8A, M8B, M3, M3A, M3B, M50, M80, IM8, IM8A, IM8B, IM9, IM9A, IM50, IM80(Nellcor Non-Oximax); Edanins; FMT; Goldway; Jeteem; Mediblue; Mindray: 509B,MEC-1000,MEC-1200,New PM6000, PM600, PM700, PM8000, PM9000, VS800, PM9000 express; Mindray PM9000(Masimo Module); New tech(General Med); Omni: Infinium monitors; Osen digital; Petas, Spring; Spring digital;
Product advantages:
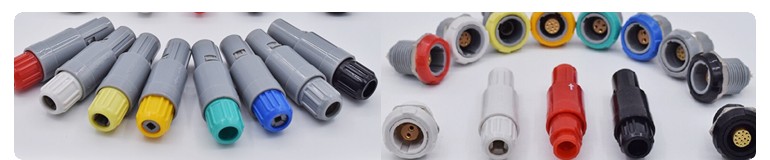
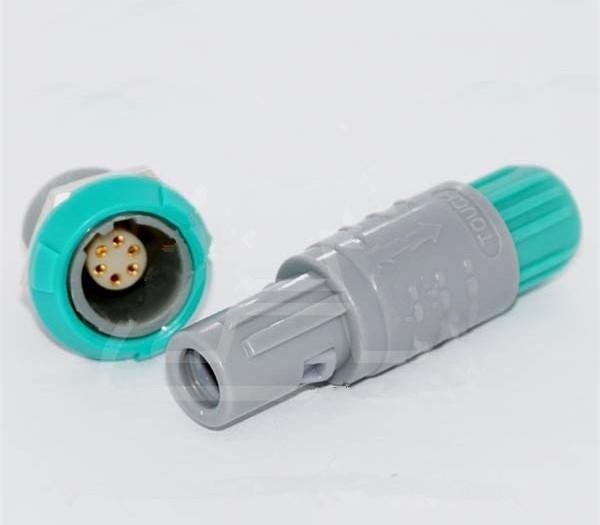
Plastic housing made of PSU, light weight;
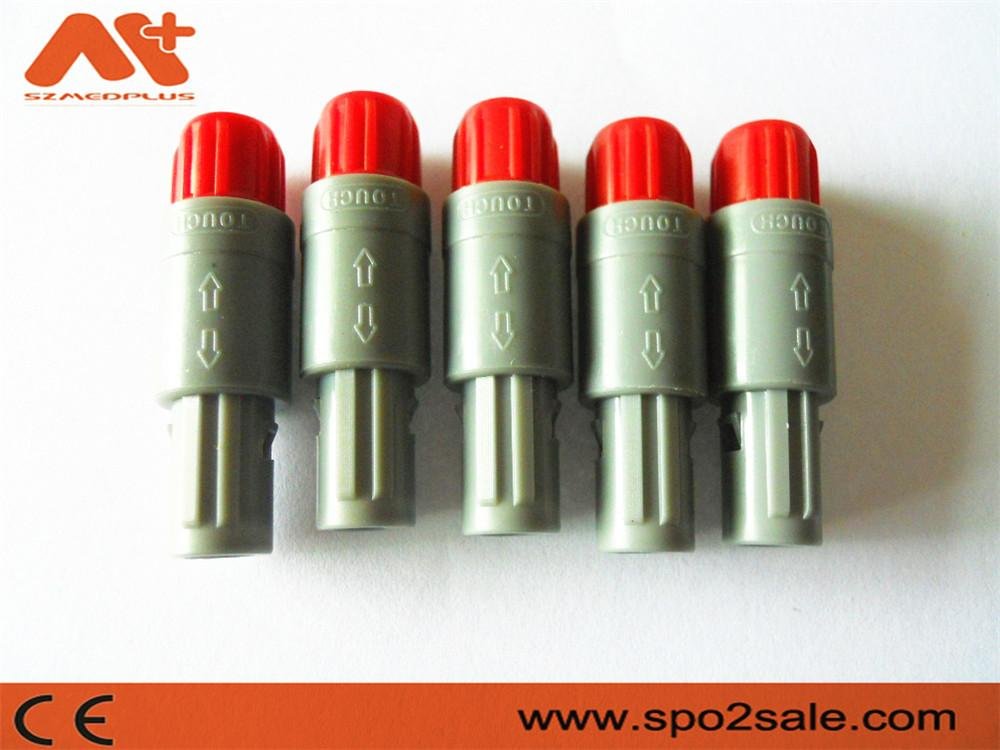
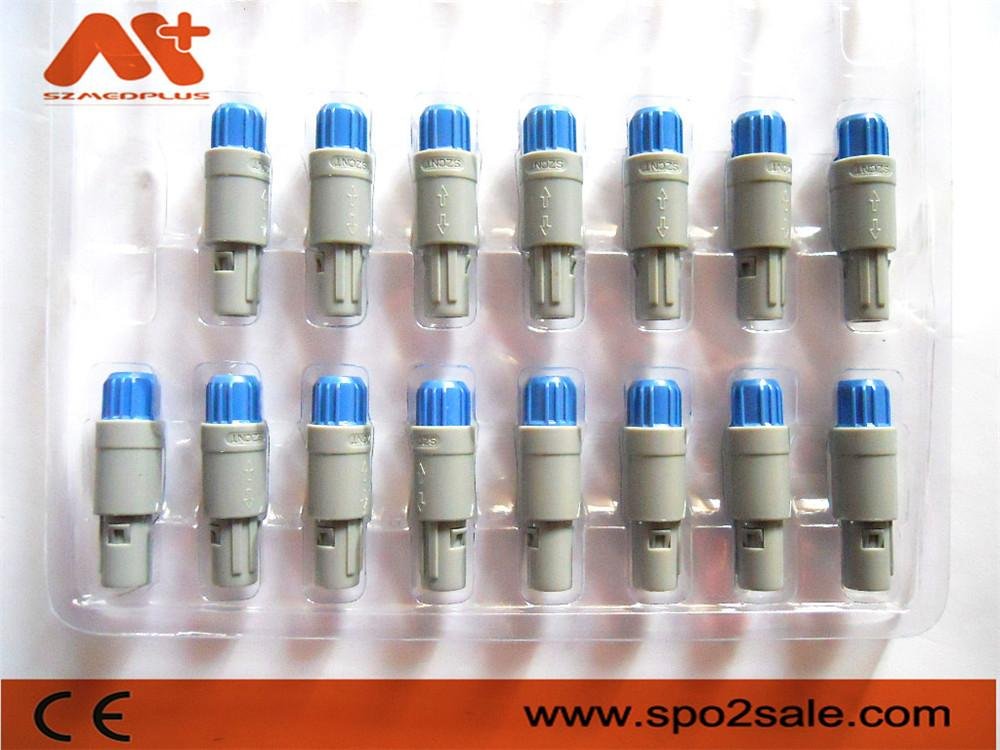
Tail nuts and socket round nuts are color-coded to prevent mis-insertion Multiple colors to choose from (gray, blue, yellow, black, red, green and white);
Positioning device: Double reed lock, keyway to prevent rotation;
Mechanical life: 3000-5000 cycles;
Waterproof IP rating: IP50;
Salt spray corrosion test: >48h;
Ruggedness: Suitable for use under high vibration and strong impact conditions.
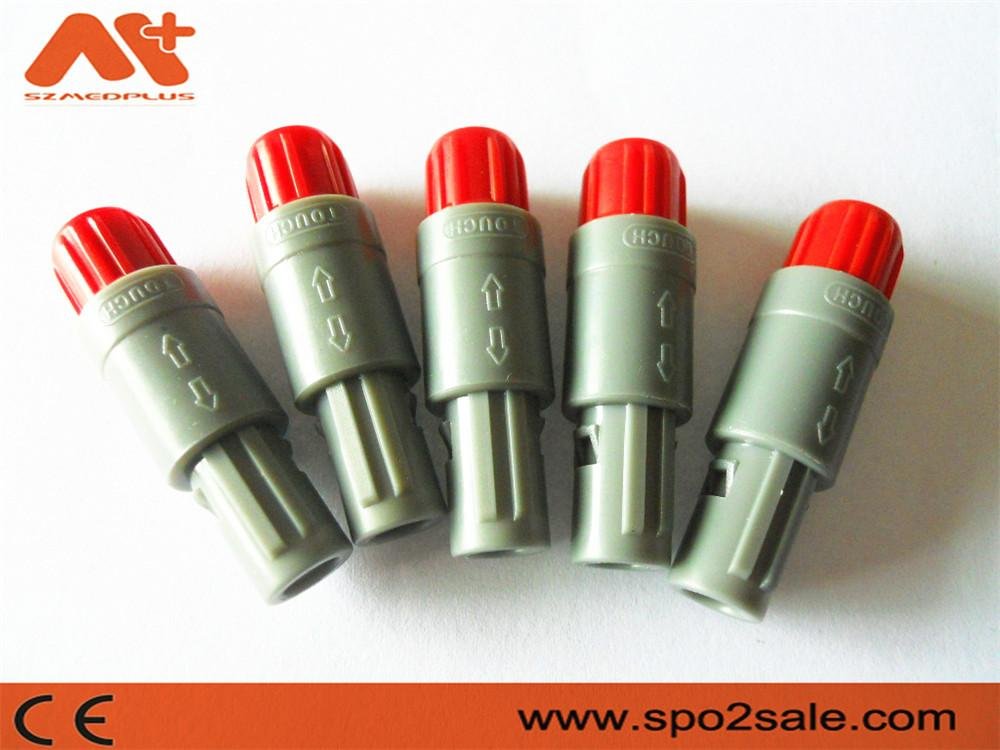
Assembly method:

1. Pass the cable through the tail nut① and the cable clamp②. Solder to the corresponding position of the insulator assembly③.
2. Install the cable clamp② to the welded insulator assembly③. Note that the protrusion of the cable clamp② corresponds to the groove of the insulator③.
3. Insert the insulator assembly③ into the plug assembly④, noting that the protrusions on the cable② are to fit in the recesses in the plug assembly④.
4. Install the tail nut 1 into the plug assembly④ and tighten the tail nut.